Using a gaming controller for spacing and kerning
2020-02-07
Using a gaming controller to do spacing and kerning in creating typefaces. This is not at all a new idea, neither is this my idea. Lots of people have done this1.
I’m just starting as a hobby type designer and this is a brief guide for my future self. Hopefully this is useful to fellow designers too.
Glyphs
The mothership, where we draw, space, and kern our glyphs. I haven’t tweaked it much. Open “Preferences” and set “Text View Width” to “20000”. Copy and paste this to “Sample Strings”2.
Open “Window -> Plugin Manager” to seek useful tools as you need. Also, there are many user scripts on GitHub, which is wonderful.
Needless to say, tutorials and handbooks are both helpful and fun to read. Remember to read them.
Global Keyboard Shortcuts
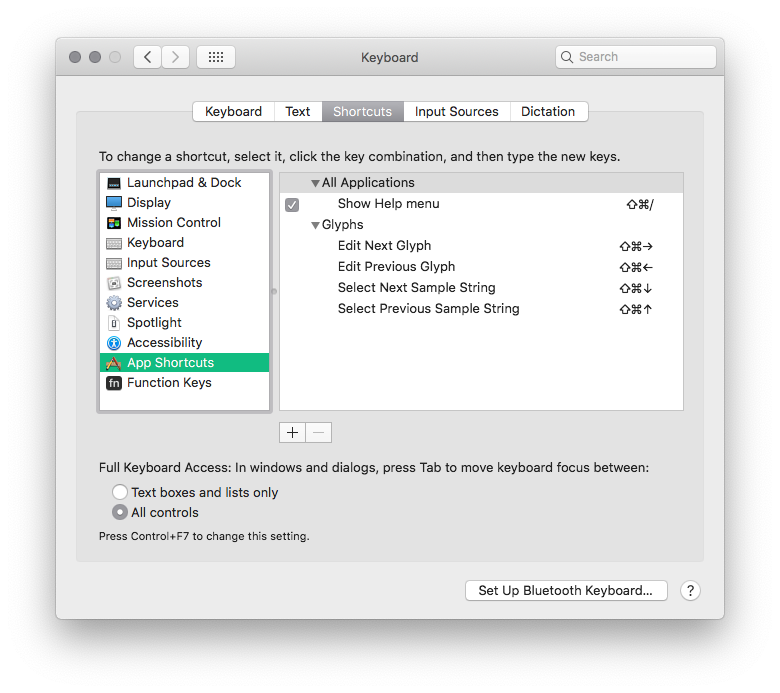
Go to “System Preferences -> Keyboard -> Shortcuts -> App Shortcuts” to set up some shortcuts for Glyphs. This will be a productivity booster. That said, I feel I’m not making full use of it.
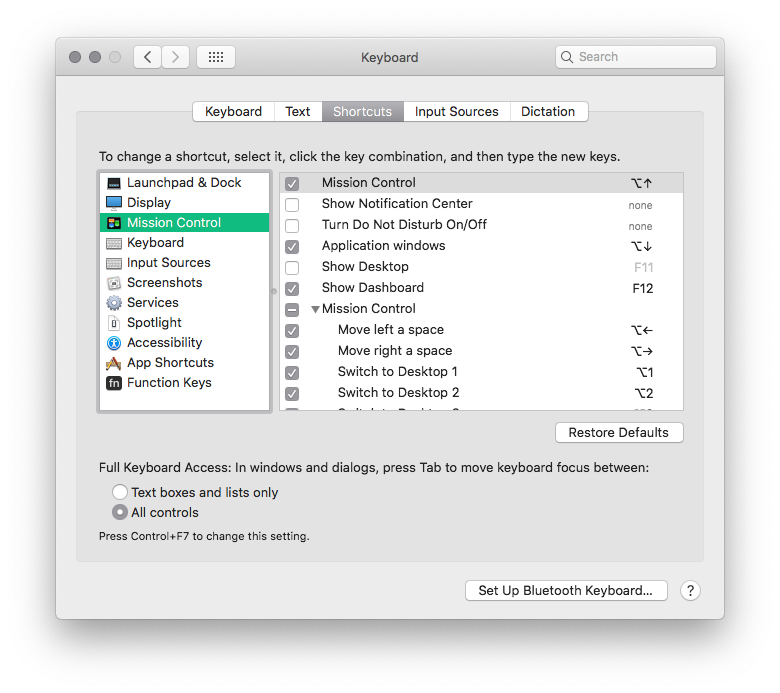
Also, it would be nice to change macOS shortcuts that conflict with Glyphs’ default shortcuts, such as “Move left a space” in Mission Control which conflicts with “Expand left sidebearing” in Glyphs in default (⌃→).
ControllerMate
This is the software that turns an ordinary gaming controller into a powerful spacing/kerning machine. It is commercial software, but the purchase page seems to be unreachable for the time being. We could manage with the restrictions of the demo version, but it is a great software so I’d like to pay for it.
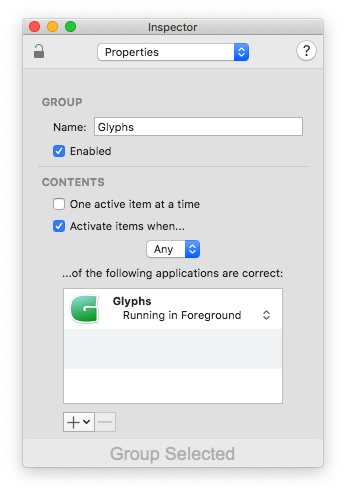
To create settings only for given applications, follow the steps here to create a programming group before creating a programming page.
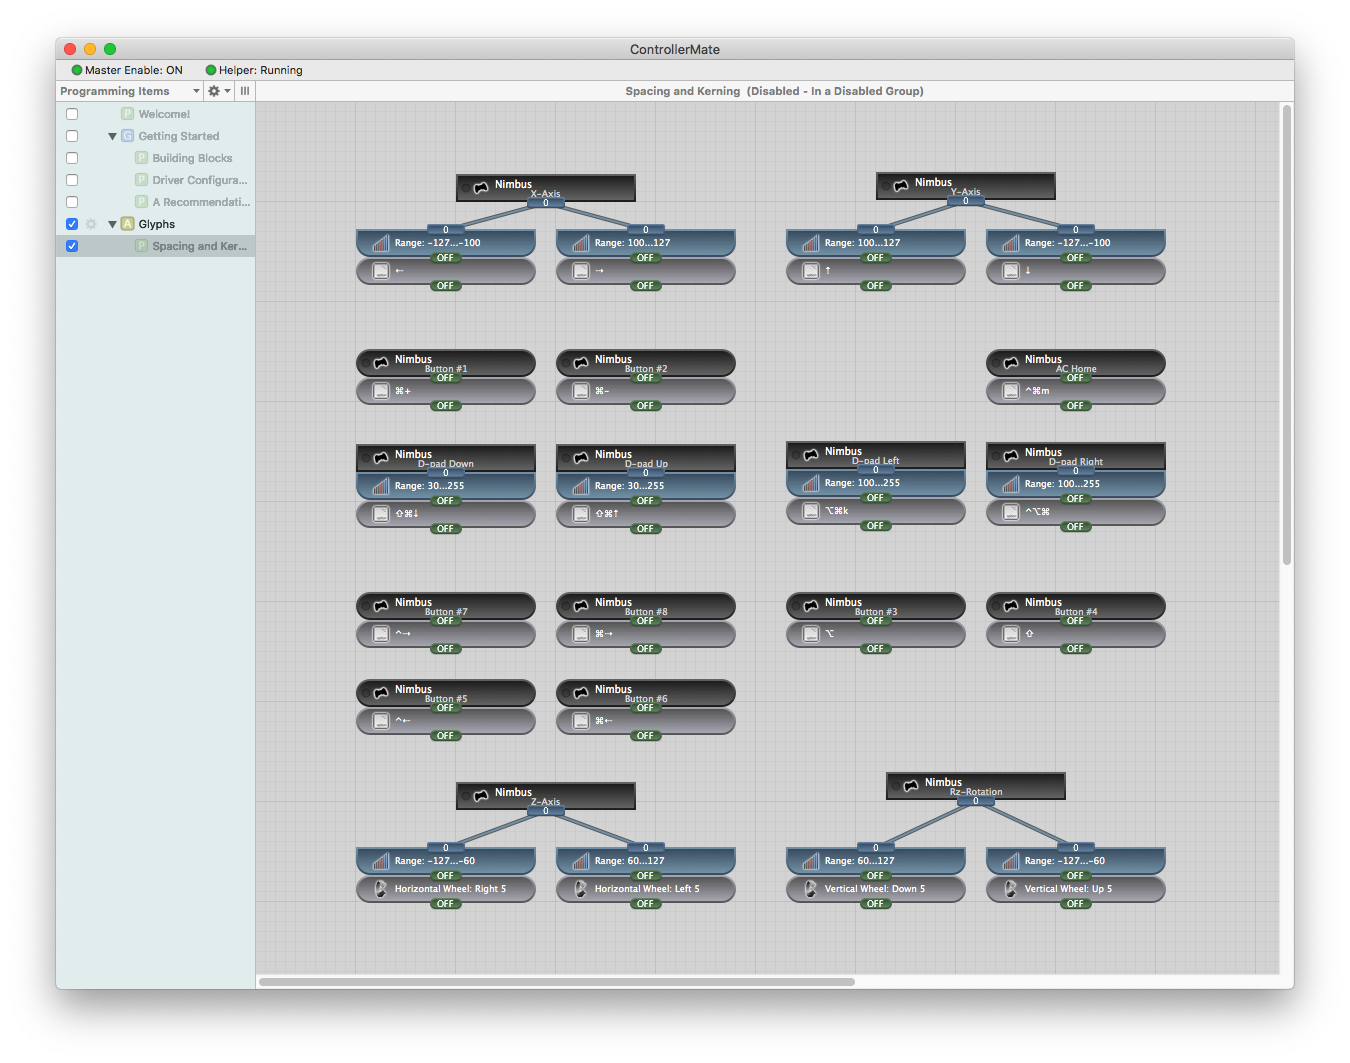
For the controller, I use SteelSeries Nimbus. It’s for iOS but works great on macOS too and I like how solidly it is built.
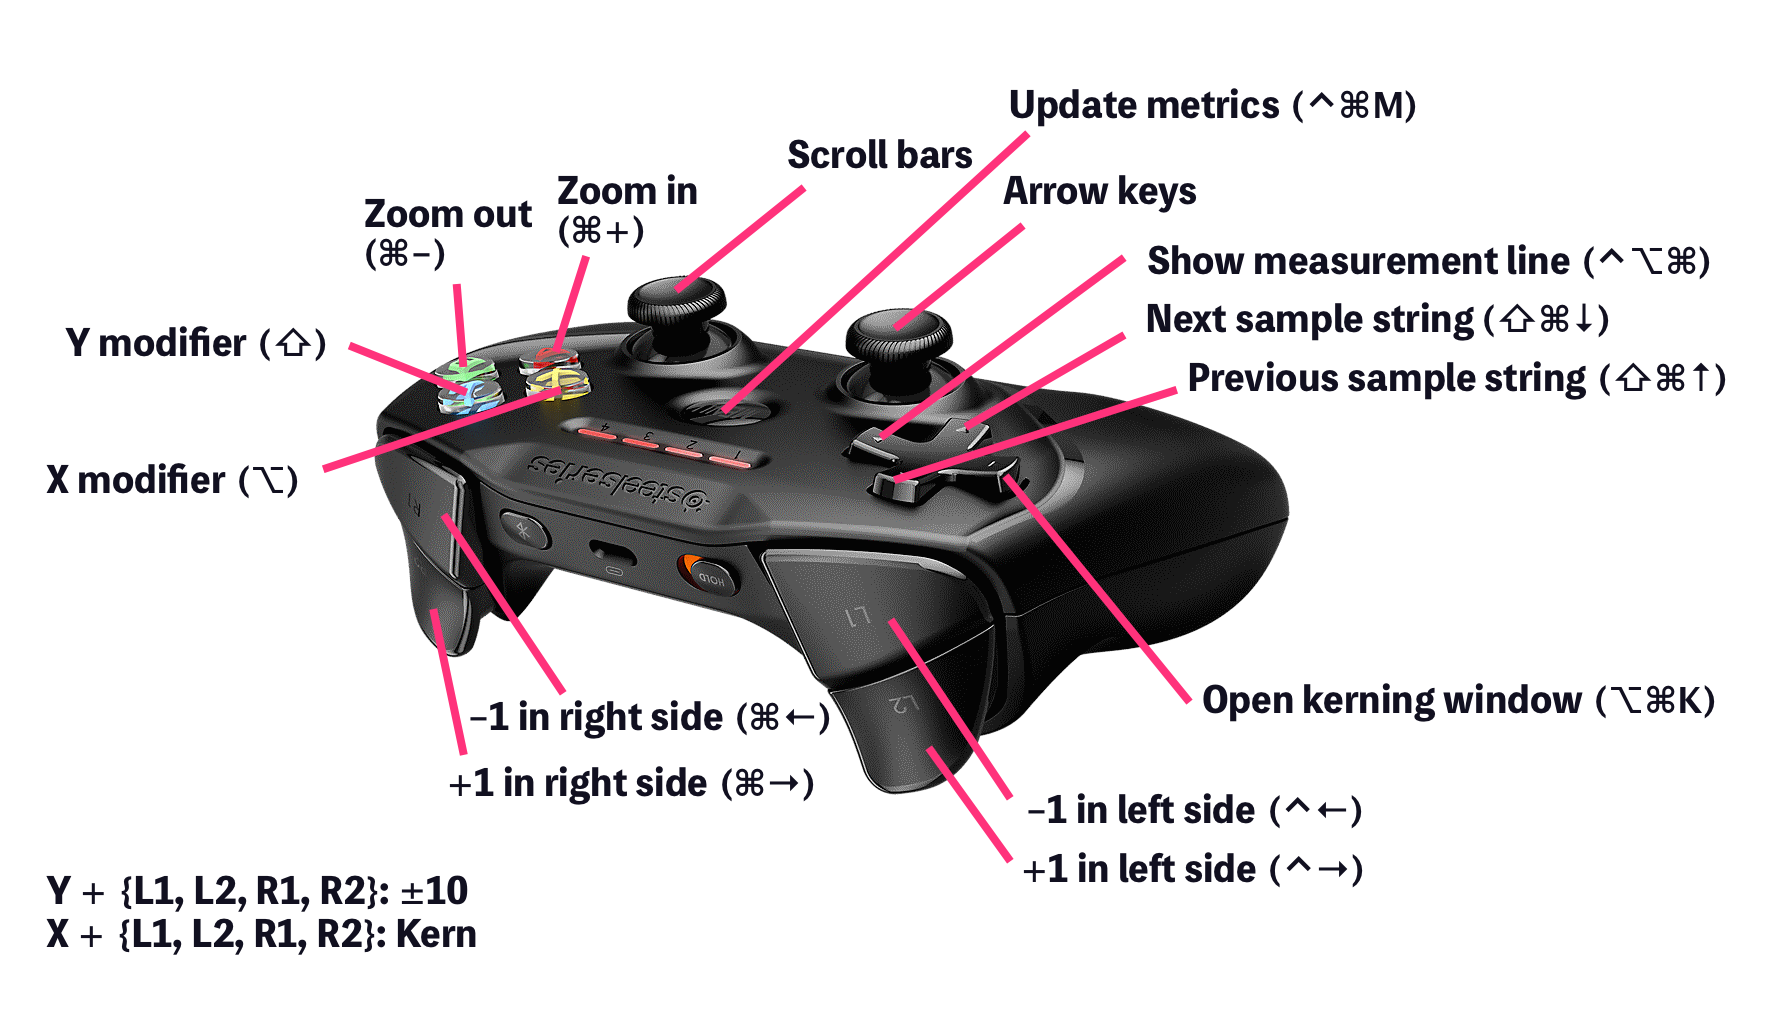
Here is how I set it up. You can get this setting for ControllerMate from here if you wish.
That would be all for now. I will keep this updated when something better comes up. Until then, enjoy!
